How to Dress in Layers for Outdoor Workouts
Good layering is less about owning technical gear and more about managing moisture, insulation and weather protection. Build an outfit you can adjust as your effort and the forecast change.
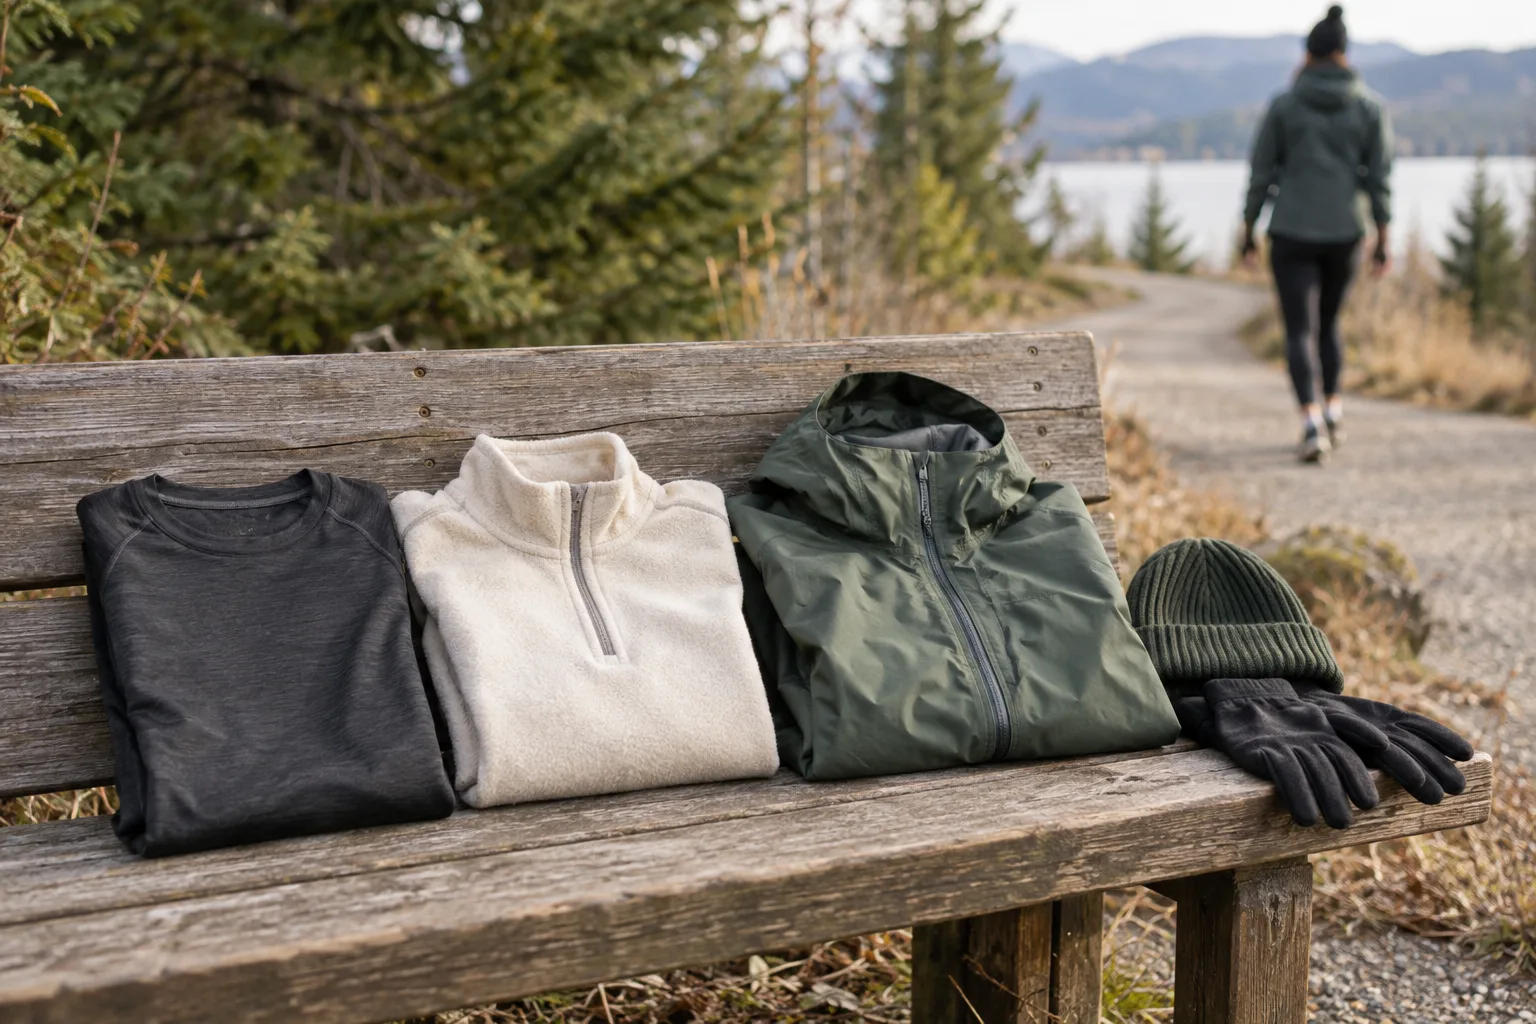
Outdoor clothing has to solve a moving problem. You may feel cold while waiting at the door, warm quickly on a hill, meet wind on an exposed stretch and cool down as soon as you stop. Layers work because they let you respond without replacing the entire outfit.
The familiar three-layer idea—a base layer, an insulating middle and a weather-resistant outer layer—is a framework, not a shopping list. On a mild day you may need only one or two pieces. In difficult weather, the right decision may be to train indoors regardless of what you own.
Base layer: manage moisture
The layer next to your skin should feel comfortable and move sweat away rather than staying heavy and wet. Wool and many synthetic fabrics can do this; exact performance varies by fabric weight and construction. Fit should allow movement without bunching or chafing.
The OSHA cold-stress guide warns that cotton loses insulation when wet and recommends wool, silk or synthetic material as an inner layer in cold working conditions. For a short, mild outing, a cotton shirt may simply feel clammy. In cold, wet or remote conditions, that moisture can become a more serious problem.
Middle layer: hold useful warmth
A fleece, wool top or lightweight insulated jacket can trap warm air. Choose the thickness according to temperature, wind, your effort and how easily you tend to warm up. A brisk runner may need much less insulation than a person walking slowly on the same route.
Starting slightly cool can reduce immediate overheating, but you should not begin shivering or numb. Bring a warmer option when the session includes long stops. Loose layers generally insulate better than clothing compressed tightly against the body, and they are easier to remove.
Outer layer: address wind and water
The outer layer is selected for the actual hazard. A light wind shell can reduce convective cooling. A rain shell helps keep outside water away, but limited ventilation can trap sweat. Open vents or remove the shell when conditions allow rather than waiting until the inside is soaked.
Water resistance and breathability are not absolutes, and a higher price does not guarantee comfort for every activity. Try the jacket on with the layers beneath it. Make sure your arms move freely and that the hood does not block your view.
Adjust before you become soaked
The CDC’s winter activity advice recommends several comfortable layers that can be removed as you warm up, helping guard against overheating, sweating and then becoming colder. Make the change early: unzip on the first climb, remove a hat briefly or stow the middle layer before it is saturated.
Carry removed clothing in a small pack or tie it securely where it cannot catch in equipment. For a longer or remote outing, pack a dry layer even if the forecast looks stable. Wet socks and gloves can make hands and feet uncomfortable quickly.
Do not forget the edges
Hands, feet, ears and neck often need their own adjustable coverage. Gloves, a hat or headband, suitable socks and footwear that matches the surface can make a larger difference than another heavy torso layer. Reflective details or a separate light improve visibility in low light, but bright fabric alone does not replace awareness around traffic.
Footwear should fit with the socks you intend to wear. Tight shoes and multiple thick socks can restrict comfort and circulation rather than adding useful warmth.
Layering in warm conditions
Hot weather needs a different strategy. The CDC heat guidance recommends loose, lightweight, light-coloured clothing, alongside slowing down and shifting activity away from the hottest part of the day. A thin sun-protective layer may be useful, but no shirt can make extreme heat safe.
Check local heat and air-quality information, use sunscreen according to its label and make water accessible. If you feel faint or weak, stop and move to a cool place. Confusion or collapse is an emergency.
Test the system close to home
Wear a new combination on a short local session before relying on it for a long route. Notice where moisture collects, whether seams rub and how easily you can make adjustments. Keep a quick note of the weather and what worked; that personal record is more useful than a universal temperature chart.
Practical takeaway
For cool weather, start with a moisture-managing base, add only the insulation your effort needs and use an outer layer for wind or rain. Make pieces easy to remove, protect hands and feet, and carry something dry on longer outings. In severe heat, cold or storms, change the location or the session rather than asking clothing to solve the hazard.
Sources
- Cold Stress Guide, U.S. Occupational Safety and Health Administration
- 6 Tips to Stay Active This Winter, Centers for Disease Control and Prevention
- Heat and Athletes, Centers for Disease Control and Prevention
Continue reading
Related articles

How to Wash Sportswear Without Wearing It Out
Sportswear can combine elastic fibres, prints, padding and technical finishes, so the safest routine starts with the care label. Use this practical checklist to wash, dry and store it thoughtfully.
Adaptive Activewear and Gear: A Personal Fit Checklist
A person-led checklist for finding workout clothing and equipment that work with individual movement, sensory and access needs.
Visibility Gear for Walking and Running After Dark
Build a simple low-light kit with reflective details and active lighting while keeping route choice and road awareness first.