Replacement shoelaces: count pairs and measure one lace
Choose replacement shoelaces with a clear record: count eyelet pairs, measure a suitable old lace, and check the product’s length, shape and fastening type.
On this page
Replacing a shoelace starts with two different numbers: the length of one lace and the number of eyelet pairs on one shoe. Neither is your shoe size. Keeping those details separate helps you compare a replacement listing without turning a general chart into a promise that it will fit every trainer.
This guide concerns ordinary removable, non-elastic laces. It does not cover dial closures, cord-and-toggle systems, elastic conversions or instructions for changing how a shoe fits your foot. Start with the shoe and fastening you actually have.
Count pairs, not every hole on the shoe
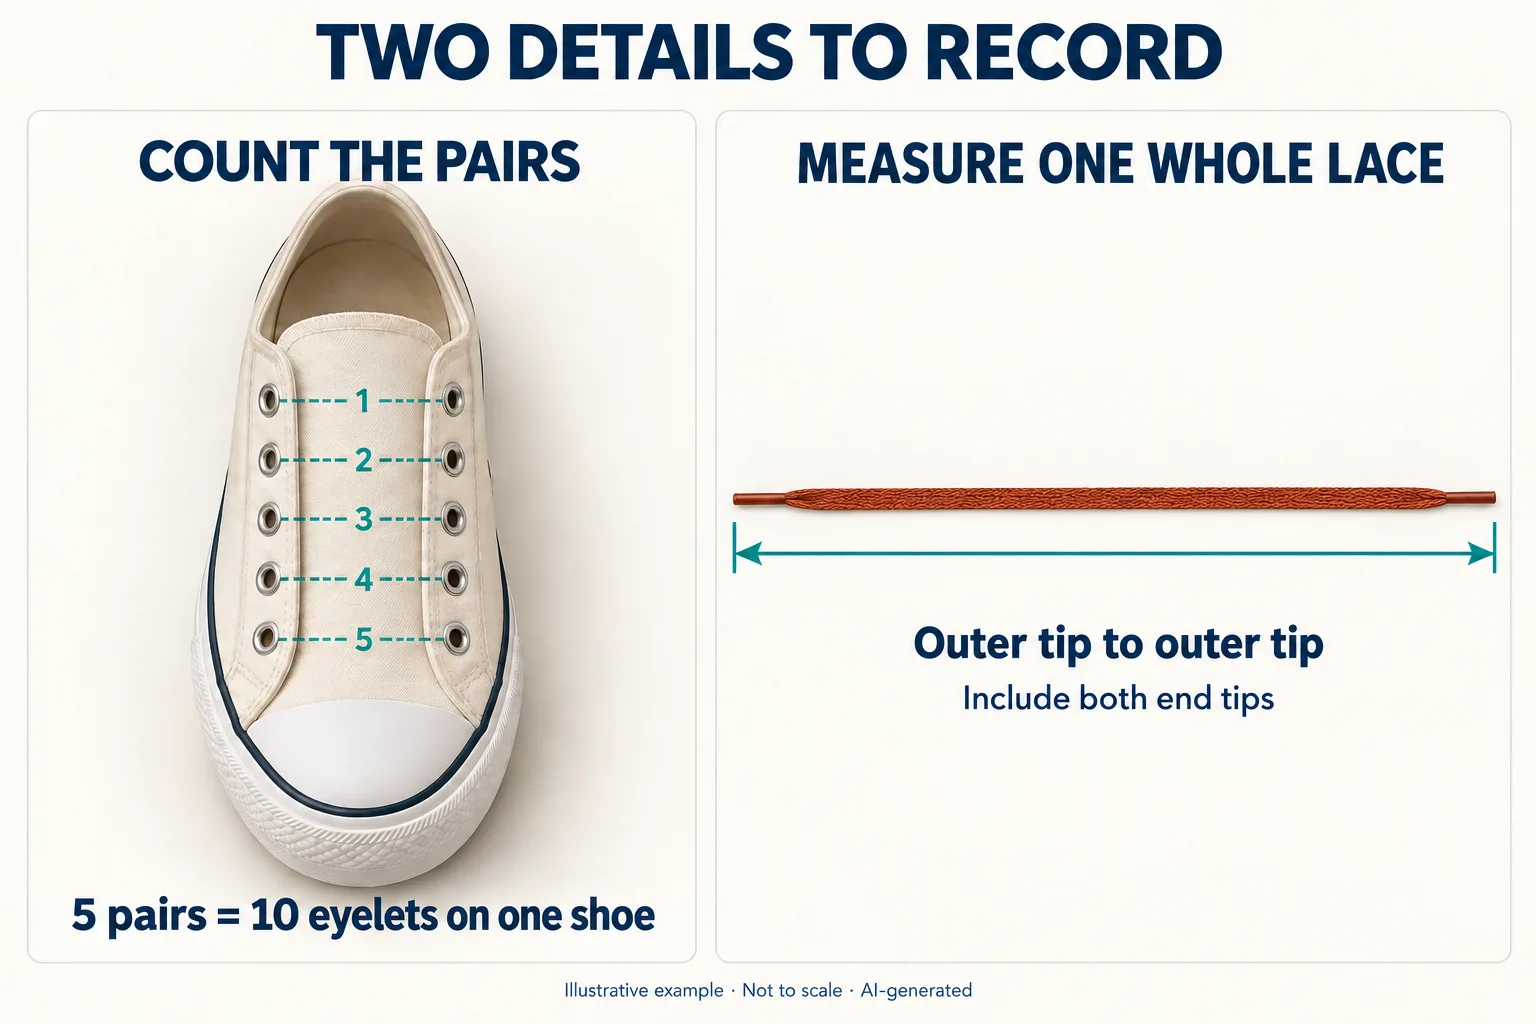
New Balance Singapore’s accessory chart labels its shoelace column “Eyelets (in pairs)”. On a simple arrangement with five holes on the left and five opposite them on the right, that is five pairs, not ten pairs. The original diagram illustrates this counting distinction; it is not a picture or specification of a particular shoe.
Count one shoe. Do not add the matching shoe’s holes to the total. Note which pairs your existing lace actually uses, as well as any unused holes. If the arrangement has extra loops, hooks or an unfamiliar fastening, a simple two-column count may not describe it adequately. Keep that detail in your notes and check the manufacturer’s instructions rather than forcing it into a chart row.
Use a suitable existing lace as your reference
New Balance New Zealand’s replacement-length advice suggests measuring old laces that fit well, alongside counting eyelets and consulting its chart. The qualification matters: a lace you already find too short or excessively long is not automatically a useful target.
Before removing an ordinary lace, photograph or note its route so you can refer to it later. For a practical measurement record, undo the knot, remove that one lace and lay it straight beside a tape without pulling it longer. Measure from one outer tip to the other, including both end tips, and write down the unit. Record the full lace, not just the portion hanging beyond the final eyelets or the length of one folded half.
A snapped lace with a missing section cannot provide a complete end-to-end measurement. If the other shoe has an intact, suitable lace, it may provide the reference instead; check that the two shoes use the same fastening arrangement. Otherwise, ask the maker or seller for guidance for the exact model and size.
Keep the chart and your observation in separate fields
The Singapore chart lists five eyelet pairs with 91.5 cm and 36 inches. That is the guidance on that regional page, not a measurement of your own lace. Do not assume every brand, regional guide or shoe with five pairs must use precisely that length.
Consider a fictional record: five pairs are used, and the intact lace that the owner finds suitable measures 110 cm from tip to tip. Those observations do not become wrong because a general chart suggests a different number. Keep both entries and ask about the exact replacement. This is an invented example of recording information, not a test of a New Balance product or a recommendation to buy 110 cm laces.
| Field | What to keep |
|---|---|
| Shoe | Brand, model, size and fastening type. |
| Eyelets | Pairs present, pairs used and any extra loops or hooks. |
| Existing lace | Full tip-to-tip length, unit, shape and whether it is a suitable reference. |
| Replacement | Listed length, shape, width and the seller’s compatibility information. |
Check more than length before ordering
A matching length does not establish that a replacement has the same width, shape or end tips. Compare those details with the lace and openings you have. A listing photograph alone may not answer them. A useful seller question includes the exact shoe and asks which replacement length and lace type it supports, rather than asking for laces for “size eight”.
Check whether the listing contains one lace or a pair, and retain the product details with your measurement. Follow any replacement instructions supplied with the shoe or laces. Do not cut, melt or modify the ends merely to make an uncertain purchase work. Selecting a replacement lace is also separate from choosing a suitable shoe; the athletic-shoe fit checklist covers that broader decision.
Practical takeaway
Count the pairs on one shoe, measure one complete suitable lace and record the units and fastening type. Use a chart as a named source of guidance, keeping its recommendation separate from your own observation. The result is a clearer replacement enquiry, without a universal length rule or an invented guarantee of fit.
Sources
- New Balance Singapore: Accessory Sizing Guide, New Balance Singapore
- New Balance NZ: How do I choose the right shoelace length?, New Balance New Zealand
Continue reading
Related articles
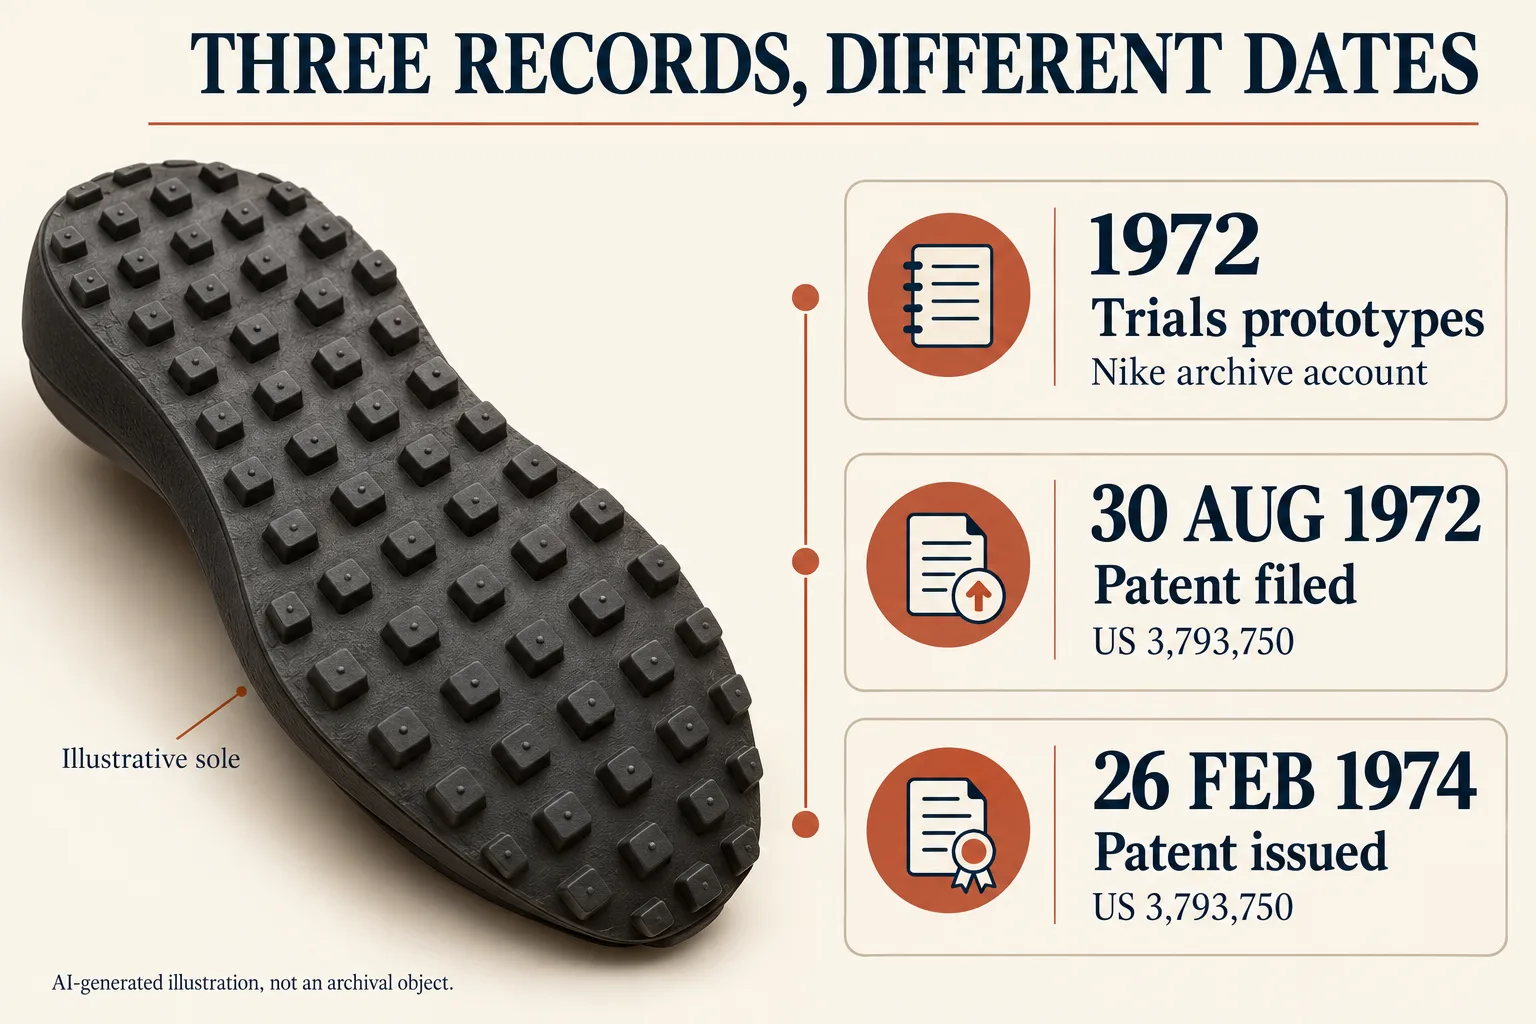
Nike’s waffle sole: prototypes, patents and product dates
Read Nike’s waffle-sole history with its dates in context. Separate prototypes, patent filing and issue, and product accounts without hiding uncertainty.
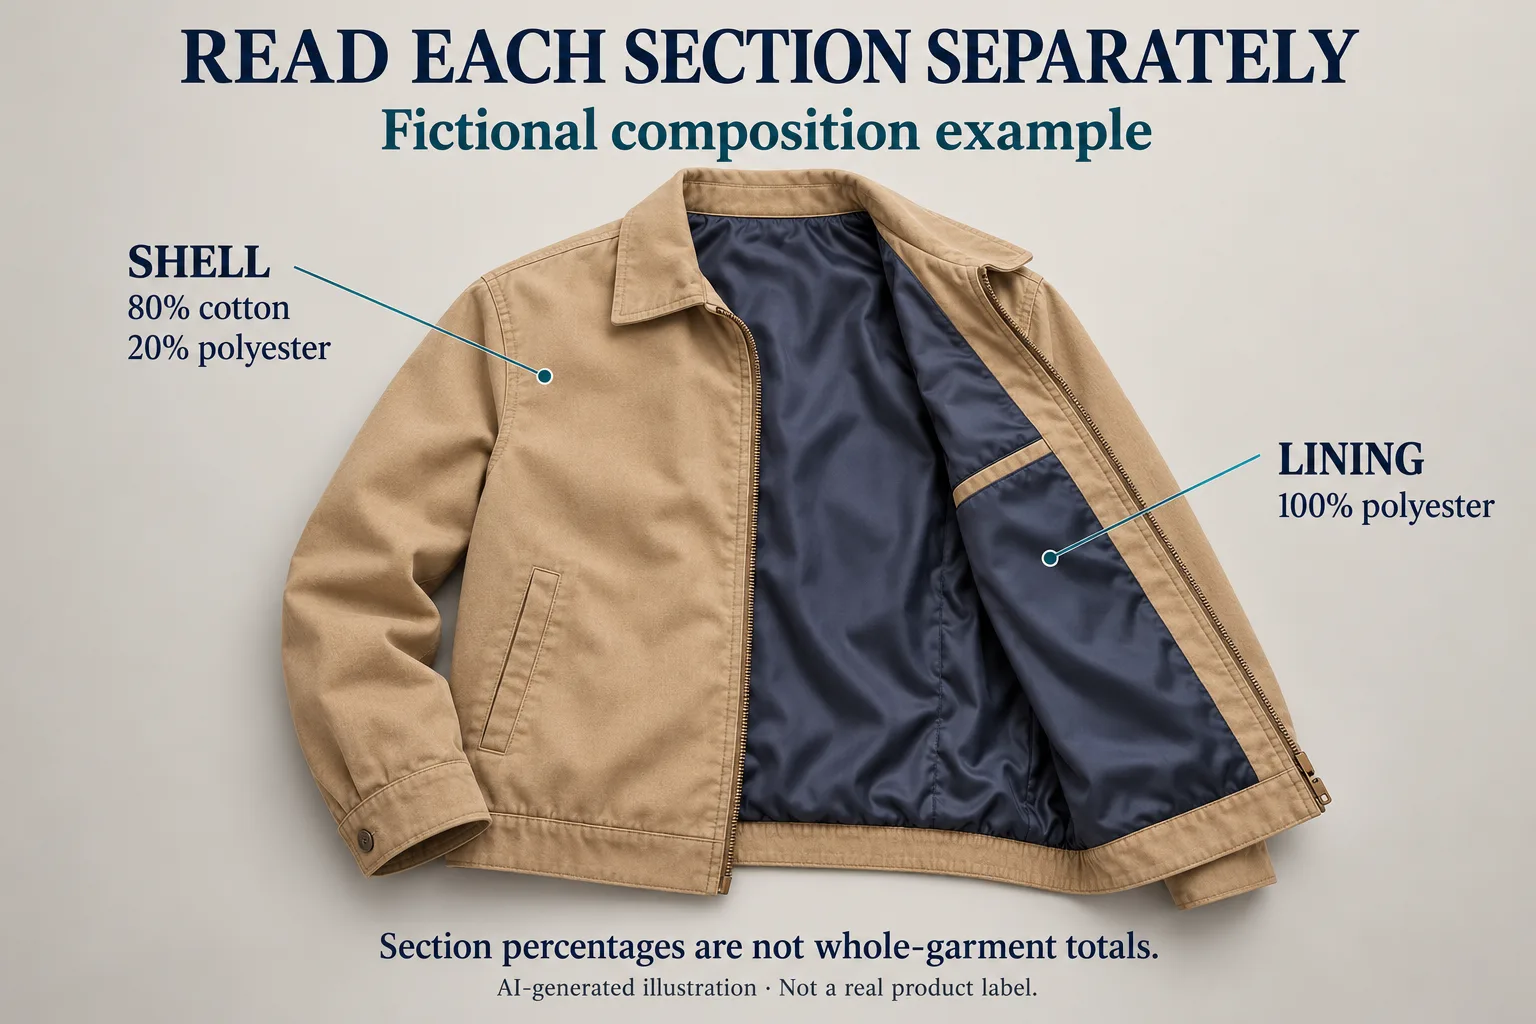
Fabric percentages: read shell and lining separately
Understand fabric percentages by garment section. Two fictional examples show why shell and lining figures cannot be averaged without their fibre weights.
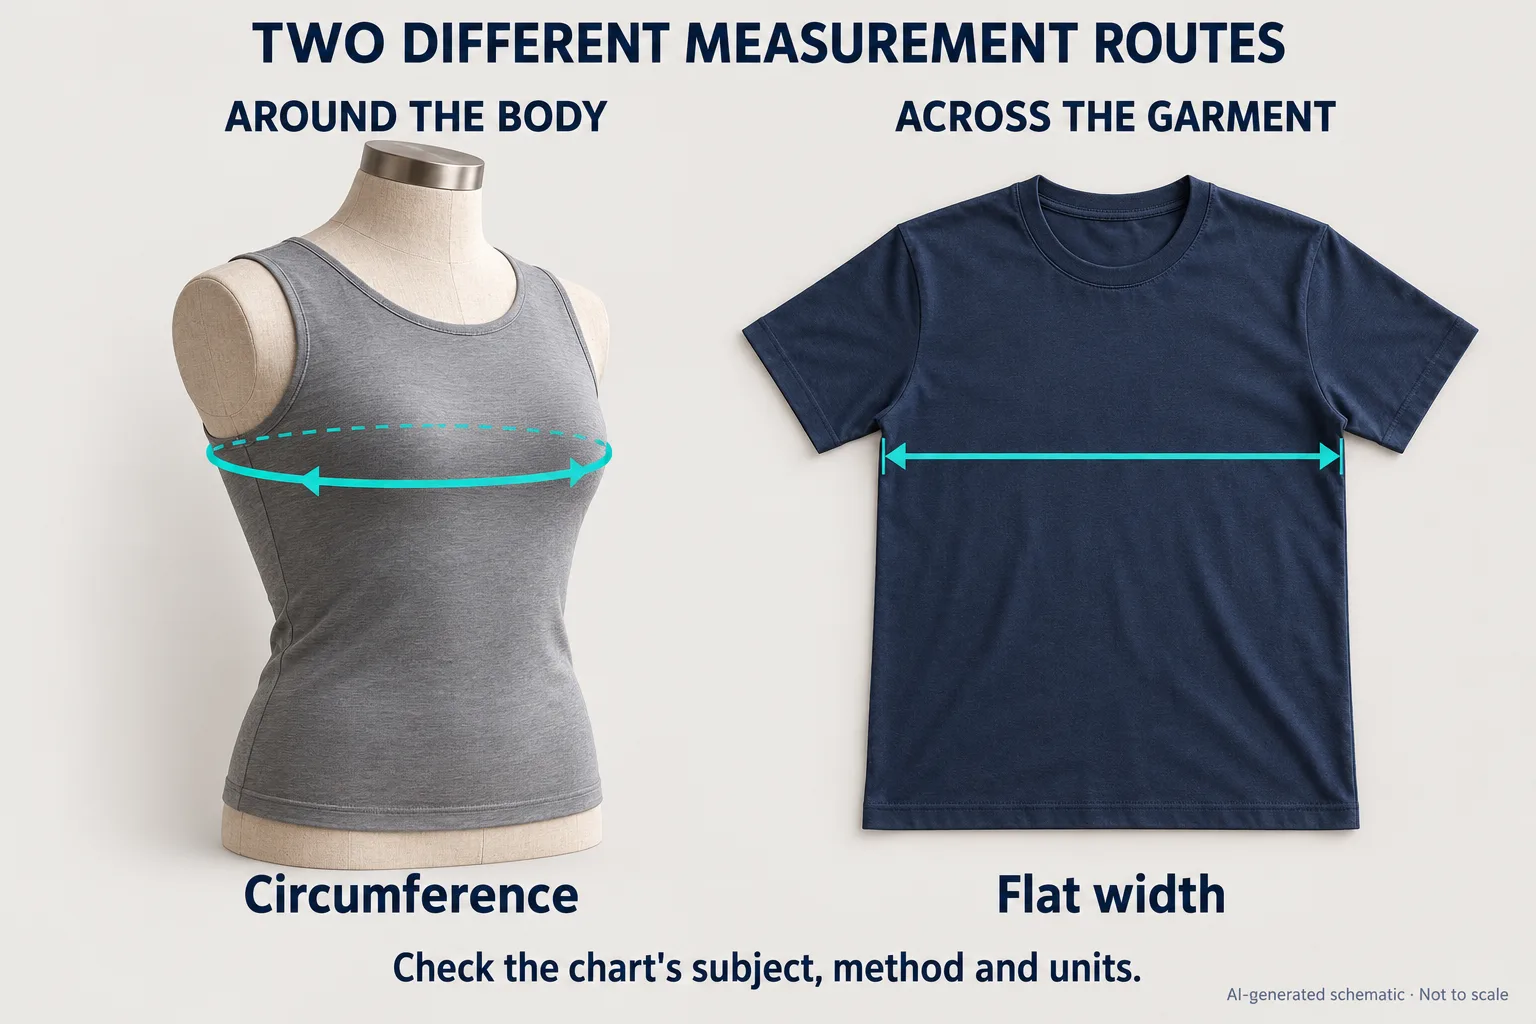
Clothing size charts: body or garment measurements?
Tell body measurements from finished-garment dimensions. Use a practical worksheet to compare chart labels, measurement routes, units and exact products.